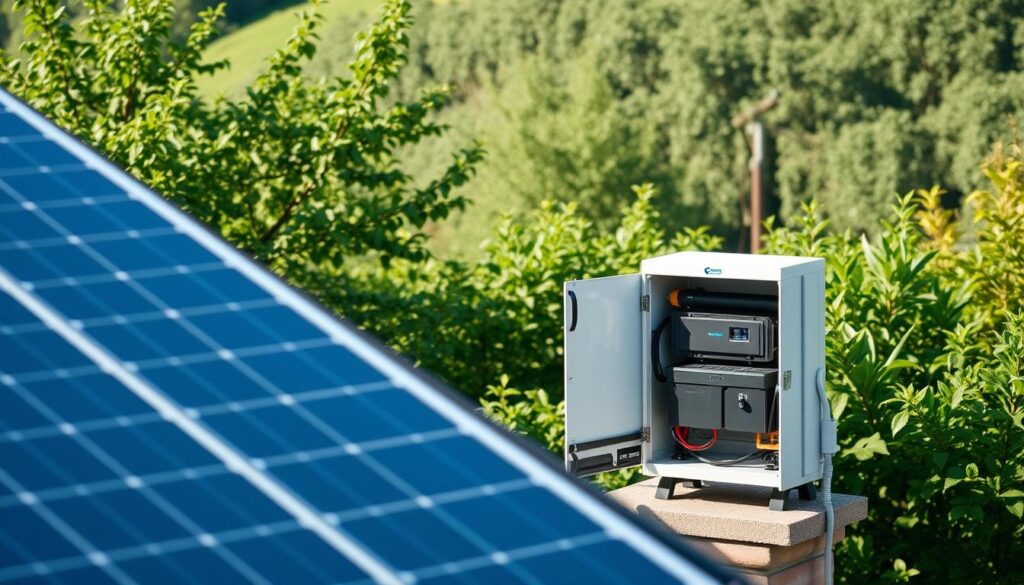
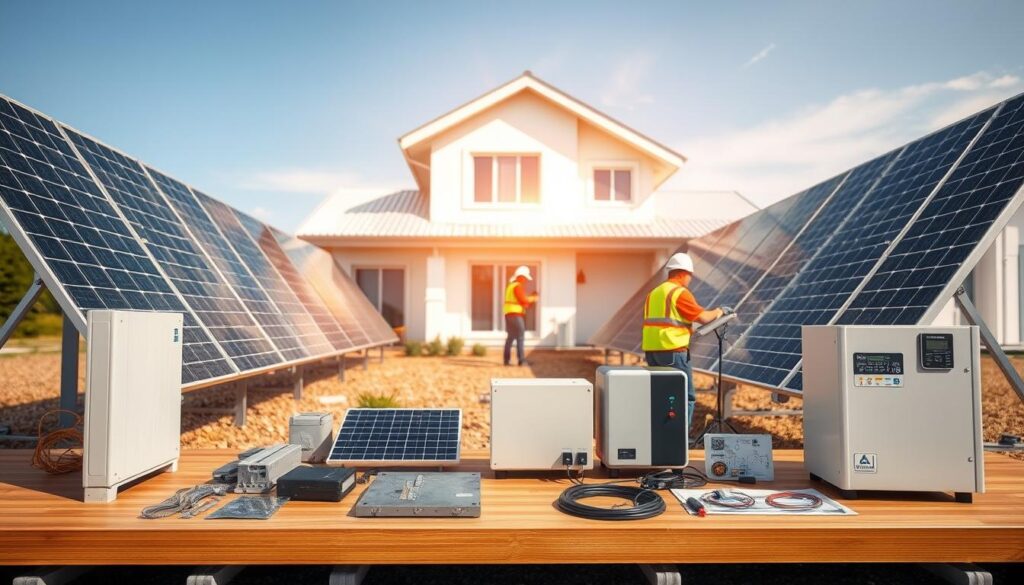
Home solar system DIY projects are empowering homeowners to embrace solar energy for home use. Solar panels, once a luxury, are now a practical choice for clean energy. With DIY kits, you can save money compared to professional setups. Systems like EcoFlow’s Rigid Solar Panels and the DELTA 3 Plus battery make installation manageable even for beginners. Solar energy for home applications is no longer out of reach—modern tools and guides turn complex systems into achievable projects.
Key Takeaways
- DIY solar kits cut costs, with savings tied to system size and tax incentives.
- Simple setups can be completed in a weekend, while larger systems take weeks.
- Check local permits and HOA rules before starting your project.
- EcoFlow’s high-efficiency panels and DELTA 3 Plus batteries maximize energy output and storage.
- Proper tools like multimeters and organized wiring ensure safe, efficient installations.
Why Going Solar Is Your Best Home Investment
Over 1.9 million U.S. homes now use solar energy for home, and that number is rising fast. With federal incentives and long-term savings, switching to solar isn’t just eco-friendly—it’s a smart financial move.
Financial Benefits of Solar Energy
A DIY solar panel system can slash monthly utility bills by up to 80%. Federal tax credits cover 30% of system costs until 2033, dropping to 26% afterward. Homeowners with average systems see returns of $100 for every $1,000 invested, and property values rise by 4.1% with solar installations. Even better: loans for solar often cost less than current electric bills.
Environmental Impact of Home Solar Systems
“Solar energy avoids 73 million metric tons of CO2 yearly—the equivalent of planting 1.2 billion trees.”
Every solar energy for home system reduces fossil fuel reliance. The U.S. now powers over 12.3 million homes with solar, cutting pollution linked to coal and gas. Systems last 20–30 years, making them a long-term green choice.
Energy Independence and Security
No more blackouts during storms. A DIY solar panel system keeps lights on even when the grid fails. With energy prices rising, owning solar shields against rate hikes. Plus, systems work in all climates—even winter—thanks to advances in panel tech. Federal labs like NREL confirm solar performance across U.S. regions.
Understanding Home Solar System DIY Basics
Embarking on a home solar system DIY project starts with grasping core concepts. Whether you’re aiming for DIY solar panel system independence or grid connection, foundational knowledge ensures smart choices. Let’s break down key elements to simplify your journey.

Grid-Tied vs. Off-Grid Systems
Choose between two main setups:
- Grid-Tied: Connects to the utility grid for seamless power supply. Uses net metering, allowing credits for excess energy.
- Off-Grid: Stands alone with batteries, ideal for remote locations. Requires extra costs for energy storage.
Components of a Complete Solar System
| Component | Purpose | Examples |
|---|---|---|
| Solar Panels | Convert sunlight to electricity | Monocrystalline, polycrystalline |
| Inverter | Converts DC to AC power | Sunny Boy 6000TL-US |
| Batteries | Store energy for off-grid use | Lithium-ion, FLA |
Calculating Your Energy Needs
Average homes use 30 kWh/day. To match this with a 6 kW system in 5 peak sun hours, you’d need 25 panels. Use tools like kWh meters to track usage. Adjust system size based on your region’s sunlight hours and household demands.
Permits and Regulations in the US
Check local codes before building. Steps include:
1. Research federal and state incentives (e.g., 30% tax credit).
2. Secure permits from city/township.
3. Hire licensed inspectors for safety checks.
Starting with these basics ensures your project complies with laws while aligning with your energy goals. Let’s dive deeper in the next section!
Planning Your Solar Project: Site Assessment and Design
A solar panel installation guide stresses the importance of site analysis. Start by measuring your roof’s dimensions and slope. South-facing roofs in the U.S. maximize sun exposure. Note any trees, chimneys, or nearby structures casting shadows—shade reduces efficiency by up to 20%. Use apps like PV Watts or a solar pathfinder tool to map sunlight patterns over your roof.
- Roof Condition: Ensure your roof is sturdy enough for panels. Metal, composite shingle, or flat roofs each require specific mounting hardware.
- Shade Check: Shade during peak sun hours (10 a.m. to 2 p.m.) matters most. Trim branches or consider ground mounts if shading is severe.
- Space Math: Calculate how many panels fit. A 6kW system might need 15–20 panels, each taking ~17 sq. ft. of space.
Next, design your layout. Use free software like Solaredge Site Designer to simulate panel angles and spacing. Aim for a tilt angle equal to your latitude plus 15 degrees. For example, in Denver (40°N), a 55° tilt works well. Include conduit paths for wiring and leave space near your electrical panel for inverter placement.
Sketch a rough layout on graph paper. Note obstructions and mark panel rows to avoid shadowing each other. If unsure, hire a professional for a $50 shading report. A well-planned design cuts installation delays and maximizes energy harvest from day one.
Essential Tools and Materials for Solar Panel Installation
Choosing the right tools and materials is key to a safe and successful DIY solar power kit setup. Whether you’re starting from scratch or upgrading your system, these essentials ensure your how to install solar panels project stays on track.

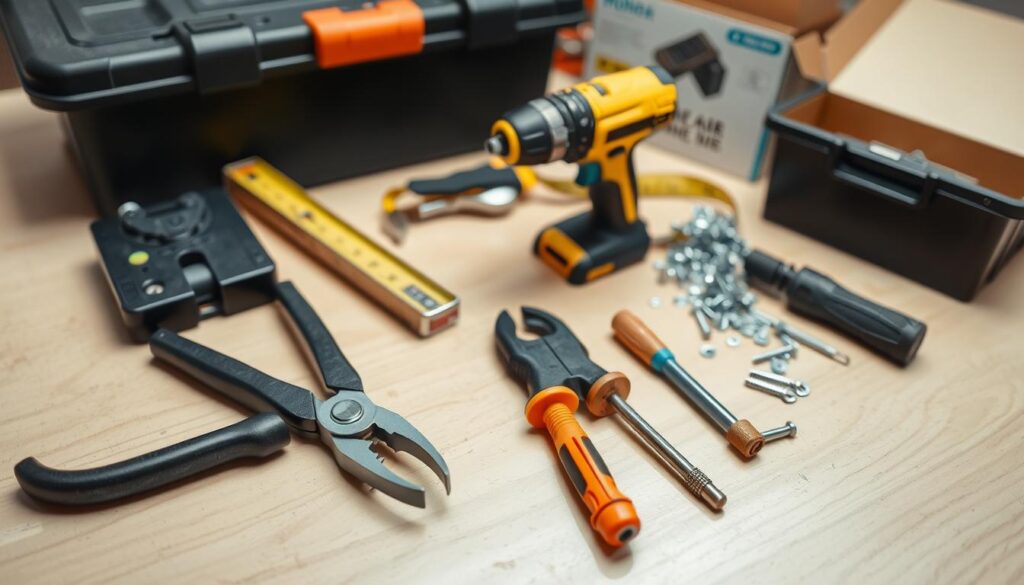
Begin with core tools like a digital multimeter, which checks voltage and current to avoid electrical errors. A MC4 connector crimper and battery-operated drill simplify panel wiring and roof work. Safety gear, including harnesses and slip-resistant footwear, reduces fall risks—a major concern highlighted by OSHA, which reports falls cause 35% of construction fatalities. Ladders must extend 3 feet above roof edges for stability, per safety guidelines.
Must-Have Tools for DIY Installation
- Electrician-grade multimeter (e.g., Fluke 117)
- EMT conduit for wiring protection
- Adjustable wrenches and torque drivers
Pro tip: Use Zuper FSM software to track tool inventory and streamline scheduling—reducing delays by up to 30% for organized DIYers.
Quality Solar Panels for Residential Use
Monocrystalline panels offer high efficiency (20%+), while polycrystalline is budget-friendly. Leading brands like SunPower and LG provide 25-year warranties. For example, monocrystalline panels save 15-20% more space than polycrystalline, critical for smaller roofs.
Inverters, Batteries, and Mounting Equipment
Select inverters matched to your system size: microinverters optimize individual panel performance, while string inverters are cost-effective. For storage, lithium-ion batteries (e.g., Tesla Powerwall) ensure reliable power retention. Mounting rails must fit roof pitch and panel weight—aluminum rails are corrosion-resistant and compatible with most roofs.
“Zuper FSM’s inventory tools cut tool shortages by 40%, keeping projects on schedule.” – Zuper FSM Case Study
Remember: Proper tool prep and quality components save time and money long-term. Start smart with these essentials to maximize your solar system’s ROI.
Step-by-Step Solar Panel Installation Guide
Mastering solar panel installation guide steps ensures your system runs smoothly. Follow these solar panel installation tips to avoid common pitfalls and maximize efficiency.

“Properly installed mounts and wiring are the foundation of a safe, efficient system.”
Mounting System Installation
Start by assessing roof load capacity and slope. Use 36 Renusol roof hooks and rails aligned to face south. Install rails at a 30° angle for optimal sun exposure. Ensure all hardware is weatherproof and securely anchored.
Securing Panels to Your Roof
- Lift 415W Canadian Solar panels with two people to avoid flexing the roof.
- Attach panels to rails with torque wrenches to specified pressure ratings.
- Check gaps between panels for airflow and alignment consistency.
Wiring and Connection Basics
Run 100m of 4mm DC cable between panels and the Lux Power 3.6kW inverter. Use conduit for all exposed wiring and seal outdoor connections with waterproof junction boxes. Test continuity with a multimeter before final connections.
Final System Testing
- Activate the inverter and monitor output via the Lux Power app.
- Verify voltage readings matches system specs (5.81kW total).
- Notify your DNO for grid connection approval and net metering setup.
Regular inspections after installation ensure long-term performance. Prioritize safety checks every 6 months to maintain efficiency gains.
Connecting Your DIY Solar Power Kit to Home Electrical Systems
Connecting your DIY solar power kit to your home’s electrical system requires precision and adherence to safety standards. Start by locating your main electrical panel and install disconnect switches near it to isolate the solar system during maintenance. A residential solar panel installation must also include circuit breakers rated for solar voltage to prevent overloads. Always reference your kit’s manual for wiring specifics.
- Disconnect switches: Required by code for system isolation
- Inverters: Convert DC to AC power safely
- Grounding systems: Essential for shock protection
Before final connections, verify local permits. Most jurisdictions require electrical inspections, even for off-grid setups. DIY solar power kit users must ensure all wiring matches your home’s amperage capacity. If adding to a grid-tied system, licensed electricians must handle utility interconnection to meet NEC guidelines. Always test circuits with a multimeter before powering up.
Pro Tip: Use residential solar panel installation guides to align with net metering requirements. Never bypass grounding or surge protection steps—these safeguards protect both your system and home appliances. If unsure about electrical code compliance, consult a licensed professional to review your setup before finalizing connections.
Battery Storage Solutions for Off-Grid Solar System DIY Projects
Battery storage is the backbone of any off-grid solar system DIY. Choosing the right type and size ensures your home solar system diy runs smoothly day and night. Let’s break down key choices to keep your energy flowing.
Battery Types: Lithium-ion (LiFePO4) batteries dominate modern setups due to longevity and efficiency. For example, a 28 kWh LiFePO4 bank costs around $2,000—half the price of a Tesla Powerwall’s 13.5 kWh. Lead-acid options are cheaper upfront but require more frequent replacement. Emerging solid-state tech promises even better performance but remains cost-prohibitive for most off-grid solar system DIY builds.
Capacity Planning: Calculate daily energy use first. A 48V lithium system (like the 2P16S configuration) handles higher currents than 12V/24V setups, reducing losses. The 28 kWh example powers a small home for 2–3 days without sun. Use tools like the IronRidge Design Assistant to match panels (e.g., 30 panels at 240W each) to battery needs.
- Battery Bank Setup: Pair 32 LFP cells (2P16S) for 48V at 220 AH. Ensure proper wiring with 10 AWG PV wire and MC4 connectors.
- Maintenance Tips: Check voltage weekly with a battery monitor. Replace batteries every 5–10 years depending on usage. Avoid overcharging—keep voltage under 52V for LiFePO4.
Pro tip: Add a second ground rod for lightning protection and use conduit rated for outdoor use. With smart planning, a $13,262 fully installed system (including a 7.5kW inverter) can slash grid reliance by 90%. Stay safe and keep those batteries happy!
Troubleshooting Common Issues in Residential Solar Panel Installation
Encountering dips in energy production or system errors? These solar panel installation tips guide you through fixes for common problems. Regular checks can prevent small issues from turning into costly repairs.
Diagnosing Low Power Output
Start by inspecting for these red flags:
- Shade from trees or nearby structures blocking sunlight.
- Dirty panels—dust or debris can cut output by 15-25%.
- Inverter malfunctions: Test with a multimeter for voltage drops.
- Check for microcracks or snail trails on panels, which reduce efficiency over time.
Ensure panels supply at least 133% of your inverter’s capacity to avoid mismatches.
Fixing Connection Problems
Loose wires or faulty wiring cause 30% of system failures. Follow these steps:
- Turn off power before handling wires to avoid shocks.
- Inspect terminals for corrosion or loose connections.
- Replace damaged wiring using UV-resistant materials.
When to Call a Professional
Some issues require expert help:
- Electrical faults involving high voltage or burned wires.
- Inverter damage after storms or power outages.
- Warranty claims requiring certified inspections.
Regular maintenance every two years keeps systems running smoothly. Always document repairs to stay within warranty terms.
Maintaining Your Solar Energy System for Maximum Efficiency
Regular upkeep ensures your solar energy for home setup runs smoothly for decades. Even properly installed systems need attention to keep producing power efficiently.
Cleaning and inspections are key. Dirt buildup can cut output by 25%, but a twice-a-year clean can boost energy gains by up to 30%. Follow these steps:
- Check panels monthly for cracks, corrosion, or shading from overgrown plants.
- Clean panels with a soft brush and water twice yearly—more often in dusty areas.
- Test wiring and inverters quarterly with a multimeter to spot voltage drops.
- Clear snow promptly in winter to avoid 100% output loss during storms.
| Season | Key Tasks |
|---|---|
| Spring | Inspect mounts and wiring for wear |
| Summer | Clean panels, check inverter performance |
| Fall | Trim nearby vegetation blocking sunlight |
| Winter | Clear snow and secure panel mounts |
Pro Tip: Track energy output monthly using your inverter’s display. A drop of over 10% signals a problem needing attention. Many warranties require maintenance to stay valid—always follow the manufacturer’s guidelines. Annual professional inspections cost $150–$300 but prevent costly failures.
“Proper maintenance extends system life by 10–20 years beyond the standard warranty,” says the Solar Energy Industries Association.
Small efforts like clearing debris or checking connections keep your investment working. Even systems installed using how to install solar panels guides need care to hit their 25–30 year lifespan. Prioritize safety—hire pros for tough repairs to stay within warranty terms.
Conclusion: Embracing a Sustainable Future with Your DIY Solar System
Choosing a home solar system DIY project isn’t just about installing panels—it’s a step toward reshaping your energy future. Every panel you mount and wire brings you closer to cutting monthly bills and shrinking your carbon footprint. With solar energy for home use, you’re joining a growing movement of households taking control of their energy needs. Systems like the Jackery Solar Generator 1000 Plus or 2000 Plus offer scalable solutions, proving even small setups can deliver big results.
Remember, solar panels last 25–30 years, making them a long-term investment. Federal tax credits covering 26% of costs and net metering programs amplify these savings. By reducing reliance on the grid, you’re also cutting greenhouse gas emissions—a win for both your wallet and the planet. While DIY projects may take longer than professional setups, the knowledge and savings gained make the effort worthwhile.
As you maintain your system and monitor performance, stay open to upgrades like better batteries or smart monitoring tools. Every step forward in solar energy for home use brings us closer to a resilient energy future. Whether starting small or planning a full grid-tie setup, your choice to embrace home solar system DIY is a meaningful contribution to sustainability. Keep learning, adapt as technology evolves, and enjoy the rewards of clean, homegrown energy for decades to come.
