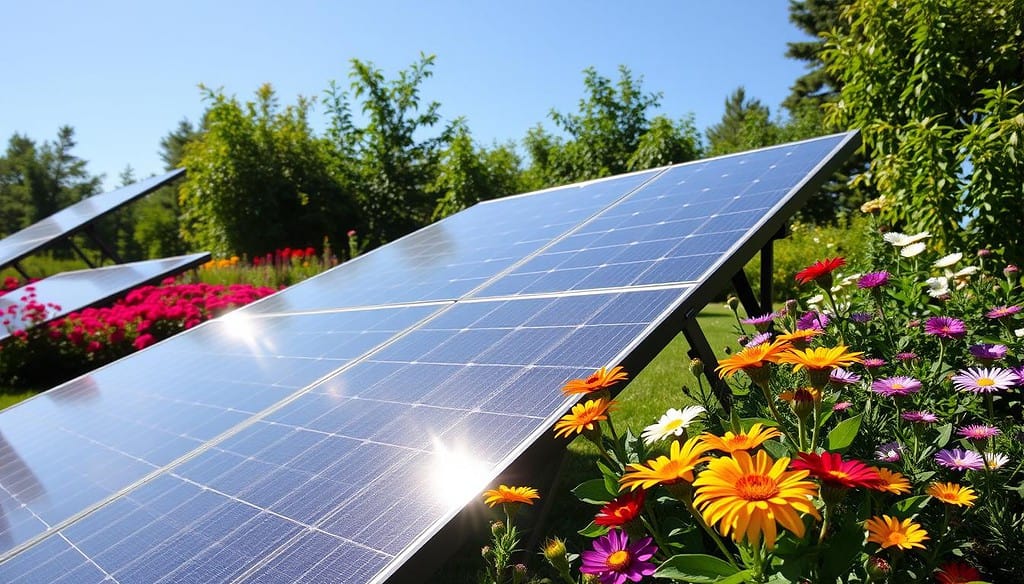
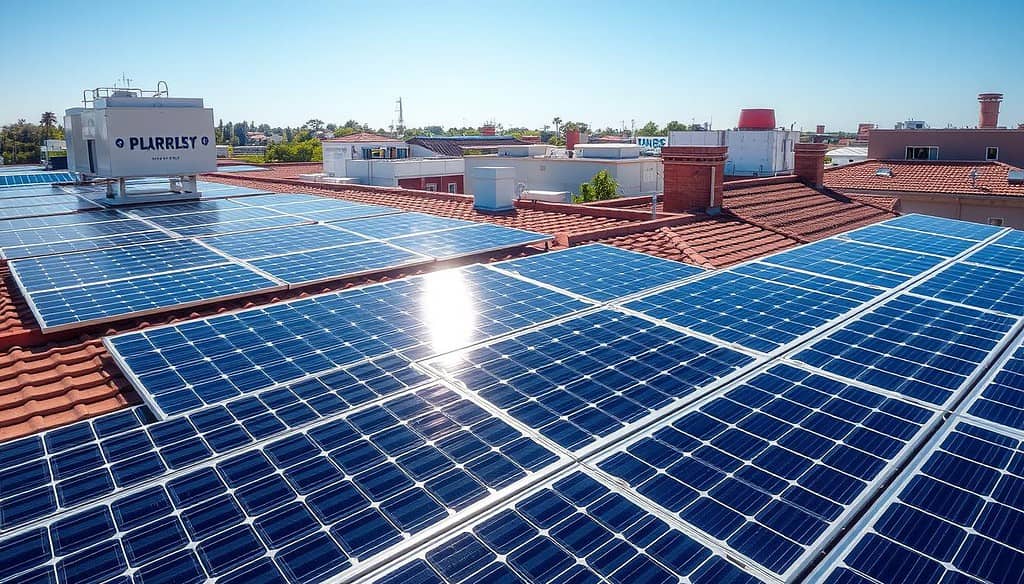
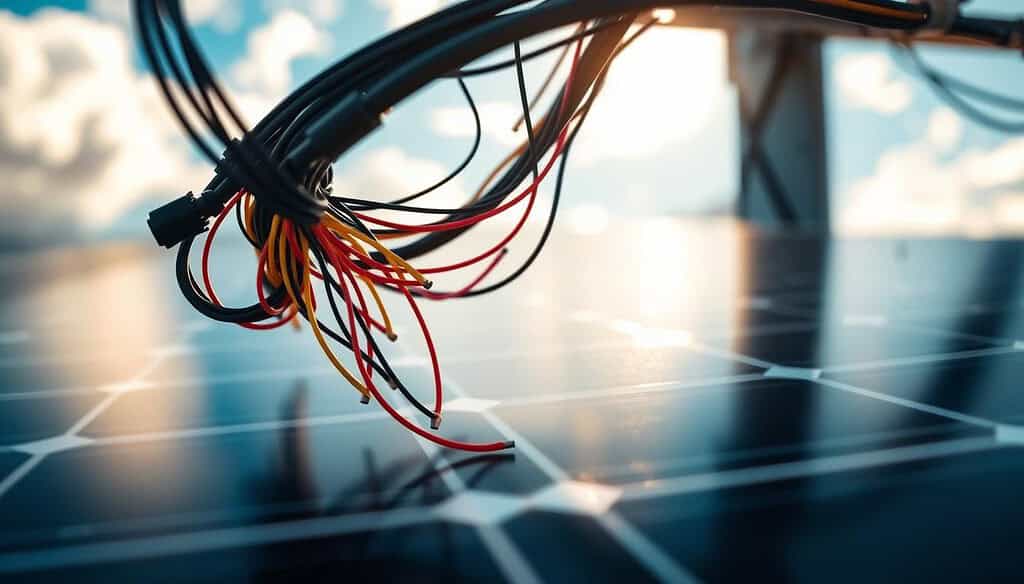
Imagine using the sun’s endless energy to make clean, renewable electricity for your home. With Sungold Solar Panels, you can turn this dream into reality. This DIY solar project helps you lower your carbon footprint, gain energy independence, or save on bills.
In this guide, we’ll show you how to design, build, and install your own solar power system. We’ll cover everything from solar energy basics to choosing the right parts and installing them. You’ll learn to become a DIY solar pioneer with confidence.
Key Takeaways
- Harness the power of the sun and generate your own renewable energy with Sungold Solar Panels
- Enjoy the satisfaction and cost savings of a DIY solar installation project
- Gain energy independence and reduce your carbon footprint
- Comprehensive guide covers all the steps from design to installation
- Sungold’s advanced solar panels make the process accessible for homeowners
Understanding Solar Power Basics for DIY Installation
Using the sun’s power is exciting. Knowing how solar energy works is crucial for DIY projects. At the center of a solar system is the photovoltaic effect. This is when solar cells turn sunlight into electricity.
These cells, often silicon, catch photons and start an electron flow. This flow powers homes or charges batteries.
How Solar Energy Conversion Works
The photovoltaic effect is key to solar energy. Sunlight hitting solar cells excites electrons, creating a flow of direct current (DC) electricity. This electricity needs to be changed to alternating current (AC) by inverters to be used in homes or sent to the grid.
Key Components of a Solar Power System
- Solar panels (or modules) – These are the photovoltaic cells that convert sunlight into DC electricity.
- Inverters – These devices convert the DC electricity from the solar panels into AC electricity for use in your home.
- Charge controllers – These regulate the flow of electricity from the solar panels to the battery bank, ensuring optimal charging and preventing overcharge.
- Battery bank (optional) – Stores the generated solar energy for use when the sun isn’t shining.
Basic Electrical Concepts You Need to Know
Before starting a DIY solar project, learn basic electrical terms. You need to know about voltage, current, and power. Also, understand the difference between AC and DC electricity. Knowing these basics helps size your system right and ensures it works safely and efficiently.
“The sun, the moon, and the stars would have disappeared long ago… had they happened to be within the reach of predatory human hands.” – Henry Beston
| Component | Function |
|---|---|
| Solar Panels | Convert sunlight into DC electricity |
| Inverters | Convert DC to AC electricity for home use |
| Charge Controllers | Regulate the flow of electricity to the battery bank |
| Battery Bank | Store generated solar energy for later use |
Simple Solar YOU CAN BUILD! Using Sungold Solar Panels
Are you ready to take control of your energy future? Create your own solar power system with Sungold Solar Panels! These panels are designed for DIY enthusiasts, making it easy to build your own system.
Sungold Solar Panels are great for your DIY solar kit project. They have an intuitive design and an easy installation process. You can turn your home into a sustainable energy powerhouse quickly. Say goodbye to complex setups and hello to easy solar installation with Sungold.
- Sungold Solar Panels are designed with the DIY enthusiast in mind, offering a simple and user-friendly approach to solar power.
- Their innovative features and robust construction make them an ideal choice for homeowners looking to build their own solar power system.
- Sungold Solar Panels are renowned for their high-efficiency performance, ensuring you get the most out of your renewable energy investment.
“Sungold Solar Panels have made my dream of having a self-sufficient home a reality. The easy installation process and reliable performance have exceeded my expectations.”
Whether you’re a seasoned DIY enthusiast or a first-time solar installer, Sungold Solar Panels are perfect for your Sungold Solar Panels project. They are known for quality and customer satisfaction, ensuring your solar journey is in good hands.

So, what are you waiting for? Unlock the power of the sun and start building your own renewable energy system with Sungold Solar Panels today!
Planning Your Solar System: Size and Power Requirements
Creating a solar system that fits your energy needs is key for the best performance and savings. First, figure out how much energy you use daily. Then, decide how many solar panels you need and what size your array should be. Lastly, pick the right system voltage.
Calculating Your Daily Energy Usage
To plan your solar system, start by looking at your current energy use. Check your utility bills to see your average daily or monthly energy use in kilowatt-hours (kWh). This info will tell you how big your solar array needs to be.
Determining Panel Count and Array Size
After figuring out your energy use, you can figure out how many solar panels you need. The number of panels depends on their wattage, how much sunlight they get, and how efficient they are. You should aim to have a bit more power than you use daily to handle changes and meet your needs.
Choosing the Right System Voltage
The system voltage is also very important. It depends on your array size, how far apart your panels and inverters are, and the equipment you pick. A higher voltage system might be more efficient but might need special equipment and setup.
| Calculation | Example |
|---|---|
| Daily energy consumption (kWh) | 30 kWh |
| Solar panel wattage | 400 watts |
| Estimated system efficiency | 85% |
| Recommended panel count | 90 panels |
| Recommended array size | 36 kW |
| Recommended system voltage | 480V |
By planning your solar system’s size and power needs carefully, you can make sure it meets your energy needs and works at its best.
Sungold Solar Panels: Features and Specifications
Choosing Sungold solar panels for your DIY solar project means getting top-notch Sungold panel efficiency, durability, and power output. These features make Sungold panels a great choice for your home.
Sungold’s panels use advanced monocrystalline silicon cells. They have an efficiency of up to 21%. This means they turn more of the sun’s energy into electricity. They’re perfect for small spaces because they’re so efficient.
Sungold panels are built to last. They have a strong aluminum frame and tempered glass. They can handle tough weather like strong winds, heavy snow, and hail. Plus, they come with a 25-year linear power output warranty. This warranty protects your investment for a long time.
| Specification | Sungold Solar Panels |
|---|---|
| Panel Efficiency | Up to 21% |
| Warranty | 25-year linear power output warranty |
| Power Output | 300-400 watts per panel |
| Dimensions | 65 x 39 x 1.8 inches |
| Weight | 42 lbs |
Sungold panels have a strong power output, ranging from 300 to 400 watts. This lets you make a lot of renewable energy. It helps lower your electricity bills and cuts down on your use of the grid.
By picking Sungold solar panels, you get Sungold panel efficiency, durability, and power output. They help build a reliable and efficient DIY solar system. This system will meet your energy needs for many years.

Essential Tools and Materials for Installation
To make your solar power dream real, you need more than just solar panels. You’ll need the right solar installation tools, safety gear, mounting hardware, and wiring components. Let’s explore the key items you’ll need for the job.
Safety Equipment Checklist
- Protective goggles
- Sturdy work gloves
- Non-slip safety shoes
- Hard hat (for roof installations)
- Fall protection harness (for roof installations)
Required Tools and Hardware
Having the right tools is key for a smooth solar panel installation. Here are some must-haves:
- Drill and drill bits
- Screwdrivers (flathead and Phillips)
- Wrenches and pliers
- Wire cutters and strippers
- Caulk gun
- Level
- Measuring tape
Additional Materials Needed
You’ll also need mounting hardware and wiring components for your solar power system. This includes:
- Solar panel mounts and brackets
- Conduit and raceways for wiring
- Cable ties and zip clips
- Junction boxes and electrical boxes
- Grounding equipment
- Weatherproofing sealants and caulk
With the right tools, safety gear, mounting hardware, and wiring components, you’re ready for a DIY solar panel installation. Always keep safety first and seek help if unsure.
Site Assessment and Solar Panel Placement
Getting your solar panels in the right spot is key to getting the most energy. Before you start, do a detailed site assessment. This helps figure out the best spot for your panels to catch the most sun.
When you do a solar site analysis, look at your roof’s orientation and tilt. You want your panels to face the sun all day. This means considering how the sun moves over the seasons.
- Check your optimal panel orientation. Panels should face south in the Northern Hemisphere and north in the Southern Hemisphere for the most sun.
- Find the best tilt angle for your panels. This depends on where you are and the time of year, as the sun’s path changes.
- Do a shading assessment to spot any shadows from trees, chimneys, or buildings. Shadows can lower your panels’ efficiency.
Also, think about your local weather. Things like sunlight hours, cloud cover, and seasonal changes affect where and how your panels should be placed.
| Factor | Considerations |
|---|---|
| Roof Orientation | Ideal facing is due south (in the Northern Hemisphere) |
| Tilt Angle | Depends on latitude and season for maximum sun exposure |
| Shading | Analyze for potential obstructions that could reduce panel efficiency |
| Local Climate | Evaluate sunlight hours, cloud cover, and seasonal variations |
By carefully checking your site and finding the best solar panel placement, you can make sure your DIY solar system works its best. This means more energy and better performance over time.
Installing the Mounting System
Securing your solar panels on your roof is key in DIY installation. The mounting system keeps your panels steady and weatherproof. It also makes sure your connection is strong and can handle the weather. Let’s look at the main steps to install the roof mounting systems for your Sungold solar panels.
Roof Preparation Steps
Before installing the mounting hardware, you need to get your roof ready. This means:
- Finding and marking the best spot for your solar panels based on sun and roof direction.
- Checking the roof for damage or uneven spots that could affect mounting.
- Removing debris, moss, or other things that might get in the way of mounting.
- Making sure the roof can hold the weight of the solar panels and mounting system.
Mounting Hardware Installation
Once your roof is ready, you can start installing the solar panel racking and flashing parts. This includes:
- Putting the roof mounting brackets or rails on the roof with the right fasteners and sealants to avoid roof penetrations.
- Connecting the solar panel racking system to the brackets or rails for a strong and level base.
- Sealing any holes or openings made during mounting to keep the roof weatherproof.
Panel Support Structure Assembly
The last step is to put together the support structure for your Sungold solar panels. This usually means:
- Linking the rails or brackets into a stable framework.
- Attaching the solar panels to the structure with the mounting hardware and following the maker’s guide.
- Checking that everything is level, secure, and aligned right to get the most energy.
By following these steps carefully, you can make sure your Sungold solar panels are safely and securely mounted. They’ll be ready to catch the sun’s power for your home.

Wiring Your Solar Panel Array
Setting up your solar panel array right is key for a good DIY solar system. It involves solar panel wiring and series and parallel connections. It might look hard, but with the right help, you can do it.
MC4 connectors are vital in your wiring. They are waterproof and make it easy to connect panels. This creates a strong and efficient electrical system.
- Start by connecting panels in series. Make sure the positive end of one panel connects to the negative end of the next.
- After setting up series connections, link panels in parallel. This boosts the system’s current and power.
- Use the right MC4 connectors for these links. They can handle the tough outdoor weather your panels will face.
By following these steps for solar panel wiring, you’ll cut down on voltage loss. This makes your DIY solar system work better. With the right steps, you’ll soon be using the sun’s power!
| Component | Purpose |
|---|---|
| Solar Panels | Convert sunlight into electrical energy |
| MC4 Connectors | Securely connect solar panels in series and parallel |
| Wiring | Transmit the generated electricity from the panels |

“Proper solar panel wiring is the foundation of a well-designed and efficient DIY solar system.”
Installing Inverters and Battery Systems
Starting your solar power journey means installing solar inverters and battery systems. These are key to using the sun’s energy and powering your home or off-grid setup. Let’s look at the important parts of this step in your solar journey.
Inverter Placement and Connection
Where you put your solar inverters is very important. They should be in a place that’s well-ventilated, either inside or outside, close to your solar panels. Make sure it’s easy to get to for upkeep and checks. Always follow the maker’s guide when connecting them to your solar panel system.
Battery Bank Setup Guidelines
- First, figure out how big your battery bank needs to be. This depends on how much power you use and when. This helps pick the right size for your off-grid systems or grid-tie setups.
- Then, set up the batteries in a spot that’s well-ventilated. This lets air move around and makes it easy to get to. Where you put them is key for keeping your battery storage safe and lasting long.
- Finally, connect your battery bank to your solar inverters and the rest of your system. Do this as the maker says to. This makes sure everything works together smoothly and stores and uses energy well.
By carefully setting up your solar inverters and battery storage, you’ll get the most out of your solar system. This is true for both off-grid and grid-tie setups. Paying close attention and following the best methods will give you a reliable and lasting solar energy solution for your home or land.
System Testing and Troubleshooting
Congratulations on installing your new solar power system! But the work doesn’t stop there. To ensure your system is operating at peak efficiency, it’s essential to perform comprehensive testing and troubleshooting. This vital step will help you identify any issues and optimize your solar system’s performance.
Solar System Commissioning
The first step is to perform a solar system commissioning. This involves verifying the proper installation and functionality of all components. You’ll check the electrical connections, test voltage and current levels, and confirm the panels are generating the expected power output.
Performance Testing
Next, it’s time to put your solar system through its paces with performance testing. This process involves monitoring the system’s power production, energy yield, and overall efficiency over an extended period. By analyzing the data, you can identify any areas for improvement and ensure your system is living up to its full potential.
Fault Diagnosis
Despite your best efforts, you may encounter the occasional hiccup or problem with your solar system. That’s where fault diagnosis comes in. By carefully inspecting the system, analyzing error messages, and tracing potential issues, you can quickly identify and address any faults, keeping your solar power system running smoothly.
| Task | Description | Key Benefits |
|---|---|---|
| Solar System Commissioning | Verify proper installation and functionality of all components | Ensure system is operating as intended |
| Performance Testing | Monitor power production, energy yield, and efficiency over time | Identify areas for optimization and improvement |
| Fault Diagnosis | Inspect, analyze, and address any issues or errors | Maintain optimal system performance |
By following these steps, you can be confident that your solar power system is performing at its best. It will deliver the clean, renewable energy you need for your home or business. Stay vigilant, and your DIY solar setup will continue to reap the rewards for years to come.
Maintenance Tips for Your DIY Solar System
Keeping your DIY solar power system in good shape is key for its long-term performance. Regular solar panel maintenance, system checks, and proactive care can boost its efficiency and life span.
Regular Inspection Schedule
Set up a regular check-up schedule for your solar system. Try to visually inspect your solar panels and other parts at least twice a year. Spring and fall are good times for this.
During these checks, look for any damage. This includes cracked or loose panels, damaged wiring, or problems with the mounting system.
Cleaning and Upkeep Procedures
- Keep your solar panels clean to avoid dust and debris buildup. Use a soft-bristled brush and water, or get a professional cleaning service.
- Trim nearby plants that might block sunlight from reaching your panels.
- Make sure all electrical connections are tight. This helps keep the system running smoothly and prevents power loss.
- Check the inverter and battery bank (if you have one) for any issues. Follow the manufacturer’s maintenance guidelines.
By taking good care of your DIY solar power system, you can enjoy reliable, efficient, and long-lasting renewable energy for many years.
Permits and Regulations for Home Solar Installation
Starting your solar power journey means understanding legal rules. You need to follow local building codes and utility rules. This makes sure your solar system is safe and legal.
Navigating Solar Installation Permits
You must get permits before starting your solar project. You’ll need to apply and share your solar system’s plans. Permits vary by location, so check your area’s rules.
- Learn about local building codes and zoning rules for permits.
- Reach out to your local building department or office for application details.
- Be ready to share your solar system’s size, location, and electrical details.
Utility Interconnection Requirements
After getting permits, connect your solar system to the grid. This might need more inspections, paperwork, and electrical upgrades.
- Find out what your utility company needs for interconnection.
- Get ready with any documents or applications they ask for.
- Cooperate with inspections or tests to meet their standards.
Knowing your area’s permits and rules helps you install your solar system right. Following these steps ensures your system is safe and legal.
“The key to a successful solar installation is understanding and complying with all the necessary legal and regulatory requirements. Taking the time to do it right will ensure your system operates safely and efficiently for years to come.”
Conclusion
As you finish building your solar system with Sungold Solar Panels, think about the amazing benefits you’ve gained. You’ve become energy independent and helped the environment. The DIY solar benefits like saving money and feeling self-reliant are just the start of a greener life.
Sungold Solar Panels have given you control over your energy. This means you don’t rely as much on the grid and save money on electricity. This energy independence also shows your care for the planet. By using clean energy, you’re helping create a better future.
Keep enjoying the perks of your DIY solar system. Remember, your journey is just starting. Be proud of what you’ve done and inspire others. Share your story and the wonders of Sungold Solar Panels. This way, you can help your community move towards a brighter, greener tomorrow.
